
Dieu Linh
Dec 30 2025 •2 minutes
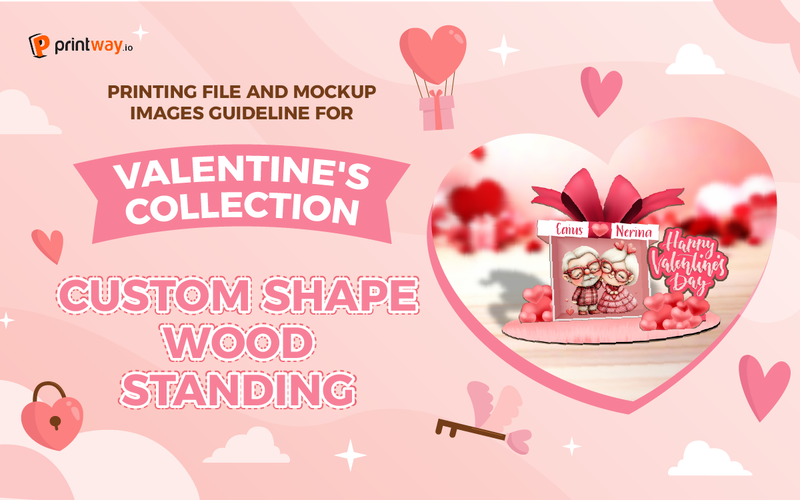
Custom wood standing designs offer a unique and eye-catching way to showcase your creativity and brand. Whether it's for special occasions like Valentine's Day or as a permanent fixture in your home, these versatile pieces are a fantastic addition to any collection. In this blog post, we'll walk you through the process of creating both a printing file and a mockup for your custom shape wood standing designs using Printway's easy-to-use templates.
To begin, you need to download the official template and mockup files from the Printway website.
Visit Printway.io: Navigate to the official Printway website.
Find the Product: Click on the Catalog section and use the search bar to find the Custom Shape Wood Standing
3- Access File Guidelines: On the product page, scroll down and click on the File Guidelines section.
4- Download the Files: Click the link provided within the guidelines to download the compressed file, which contains both the Mockup and the Template files. Ensure you download both.
The printing file template is a guide that dictates the design for all the separate layers and pieces of the calendar.
1- Open the Template: Open the downloaded printing template file using an image editing software like Adobe Photoshop or Photopea.
2- Stay Within the Safe Zone: Ensure all your design elements are contained within the designated safe zone to avoid any clipping during the production process.
3- Customize Your Shape: Get creative with the shape of your wood standing! As long as it fits within the overall dimensions and follows the guidelines, the possibilities are endless.
4- File Format Matters: Save your final design as a PNG file with 300 DPI for optimal print quality.
A mockup is a great way to visualize how your design will look in a real-world setting. Open the mockup template file in your design software. You'll find a variety of pre-prepared mockup images to choose from.
Follow these steps to create your mockup:
1- Select Your Background: Choose the background that best complements your design.
2- Arrange Your Layers: Place your design layers on top of the background, ensuring they are properly aligned and scaled.
3- Crop and Refine: Use the crop and mask tools to fine-tune your mockup and make it look as realistic as possible.
4- Add Finishing Touches: Consider adding shadow effects or other visual enhancements to give your mockup a professional finish.
Once you're satisfied with your printing file and mockup, export them in the appropriate format and you're ready to create ads campaigns for your new products - Custom Shape Wood Standing
We hope this guide has been helpful in your creative journey. Now, it's your turn to unleash your imagination and start designing your own custom shape wood standing pieces.
To understand more clearly, please watch the full guideline video here Artwork Guidelines and Mockup Generator Guideline for Custom Wood Standing
Explore and fulfill Custom Shape Wood Standing here